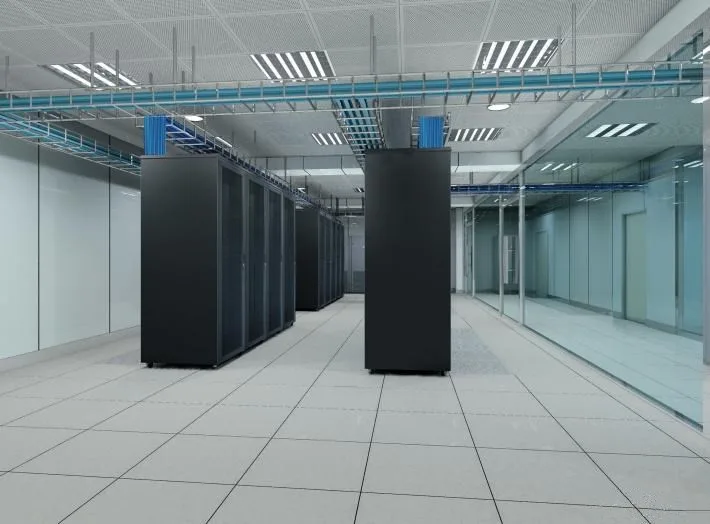
As one of the standard equipment of modern office, the application range of network raised floor has become more and more extensive. It can save headroom more than traditional raised floors. And it is widely used in many large office spaces such as office buildings. Of course, in order to make the most of its product advantages, in the following content, we will introduce the correct raised floor installation steps for everyone.
Installation steps one: Clean up the ground
Clean up the ground before laying the raised floor. For example, clean up everything from the ground, including dust, dirt, and mud. If there are bumps on the ground, they must be filled or removed to keep the ground flat.
Installation steps two: Measure the site
The second step is estimation and ordering. The estimate is by definition to measure the site and estimate how many installation items are needed, such as raised floors and supports. The ordering is to transport these required products. Make sure that there is no shortage of materials during the completion process.
Installation steps three: Determine the construction benchmark
The next step is to determine the construction benchmark, construct in the direction of the base point, and lay the foundation and the floor in order according to the direction of the base point. After that, the construction workers need to make floor openings according to the required requirements and quantity.
Note: In the above process, if you encounter a wall, pillar, etc. that cannot be placed in a whole piece, you can cut it for edge treatment. Presumably everyone can also apply it flexibly. Of course, the necessary adjustment process is also inevitable. The staff should consider these according to their actual situation.
After the introduction of installation steps, you must know more about the installation of raised floor. If you have any problems, just contact us.